
Ditch your zoom, forget about filters and follow these tips instead, particularly if you want sharper looking photos in low light.
In Part 1 of our beginner’s guide to smartphone photography, we covered the absolute essentials that everyone should know. In Part 2, we went over the composition techniques that can make a dramatic difference to otherwise seemingly mundane shots.
In our final instalment, we help you deal with one of the most persistent and aggravating smartphone photography problems – photos taken in low-light that turn out annoyingly blurry. And we give you some other top tips for good measure.
Steady as she goes
Blurry photos, either of fast-moving objects or of subjects in low light, are one of the most common photographic bugbears. With fast-moving objects, use your Camera app’s “burst” mode – typically by holding down the on-screen shutter button. This will take a series of shots in rapid succession.
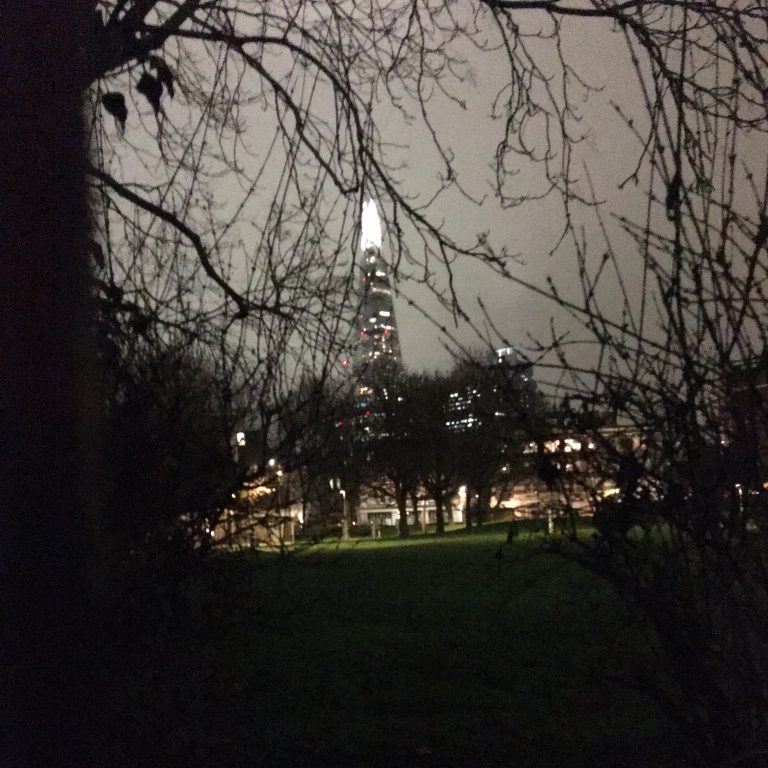
In low light, your smartphone’s camera will try to keep its lens open for as long as it can to let in as much light as possible for the clearest, sharpest possible shot. The downside is that this increases the chances of blurriness in your photo.
The easiest way to counteract this is to keep your phone as still as humanly possible – hold your phone was both hands, tuck your elbows in and try bracing yourself against immovable objects such as walls, trees and fences.
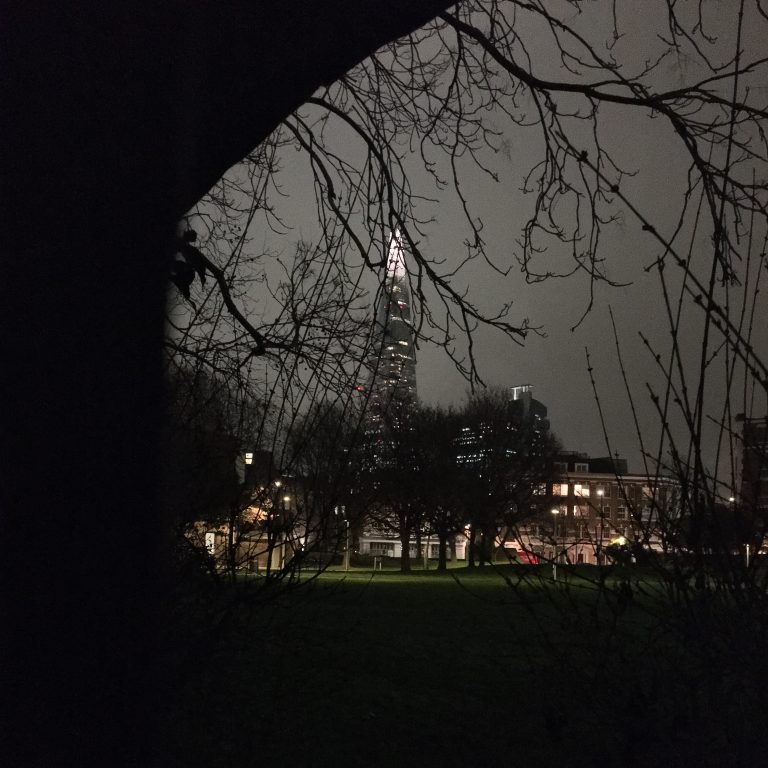
Even so, it’s impossible to hold your phone perfectly still. If you can, rest your phone against solid objects such as walls, shelves and rocks. If you can’t reach the screen after doing this, you can usually take a shot by using the earphones included with your phone.
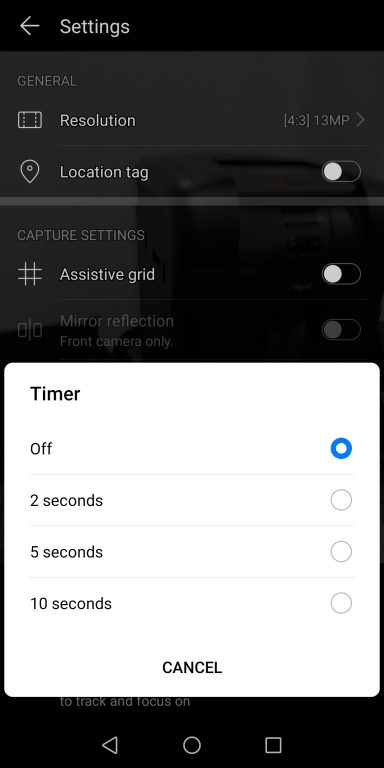
When the Camera app is open, pressing on one of the earphones’ buttons – typically the volume down button – will take a shot. Alternatively, most smartphone camera apps have a built-in timer, so you can set a shot to be taken after a brief time delay.
The best way to counteract blurry low-light shots is to mount your phone on a tripod. That way, your phone will be kept perfectly still while you shoot, either by tapping the screen, by timer or by remote control. You can buy an adapter to mount your phone on standard tripods designed for dedicated cameras. Or you can buy tripods specifically designed for smartphones – these are often pocket-sized, so you can take them anywhere, while some have specially designed legs that can be wrapped around fencing, thick branches and other steady objects. This not helps keep your phone still and steady despite its small size, it can also help you frame your shots more inventively (as mentioned in Part 2).
Even if you own a phone with a specialised night mode for taking low-light shots, such as the Huawei P30 Pro or Google Pixel 3a, these tips still apply. Indeed, they’ll help make your night mode shots look even better.
Don’t use your zoom
If your phone only has a single lens, don’t zoom in when taking a shot. As the lens can’t physically magnify what you’re shooting, the Camera app on your phone is using a “digital zoom” – which means it’s cropping your photo instead, often losing detail in the process.
It’s far better to take a snap and then crop later when you’re not rushing to capture a fleeting moment. You’ll not only have more time to consider what to crop, leading to more effective and better-looking results, but you can undo the results if you’re not happy with them.
That’s something you can’t do if you “zoom” while taking the shot.
This guideline is less applicable if your phone has multiple lenses – as many of the new flagship phones do – with an actual zoom lens (known as an optical zoom) among them. This should still be used judiciously though.

With most optical zoom lenses, the more you zoom in the less sensitive the camera will be to light. This makes zoomed-in shots taken in low-light situations more prone to blurriness and loss of detail.
Practice, practice, practice
It’s all very well reading about photography in theory, but the best way to hone your shots is to go out and apply these tips to real life shots using your own smartphone. Practice makes perfect – a hoary old aphorism, but true.
Editing
Don’t be afraid to edit your photos. It’s not cheating, it’s not hard to do and you can make noticeable improvements – especially if you go beyond the filters supplied in apps such as Instagram.
You don’t necessarily have to invest in extra apps either. The editing options built into the photos/gallery apps supplied with many phones can be surprisingly effective. Along with cropping, try experimenting with options for adjusting the contrast, shadows and highlights of your photo.
The results can be subtly but noticeably better. Happy snapping.

